MIP Support Structure Taking Shape

Over the past few days I’ve been working on the support structure for the MIP. The pilot’s side and the middle section is mostly done at this point. The first officer side will be a bit longer because I decided to modify the design a bit. I’m planning on making it easily separable from the rest of the panels. This will make transportation easier down the road.

I also made the decision to buy the MIP itself from homecockpits.fr. Its a bit of a complex piece and they can do a better quality and likely quicker job than I could with this piece. The parts came to a total of €495.00 or $685.58 CAD. Not exactly cheap but hopefully worth the price! It is made to order and will be customized with my aircraft registration and SELCAL. C-FOLF will live! (I’m just not sure when) :p

I’m heading back to work soon, but if I have time I may start working on the pedestal. I’m excited to see that take shape. I can put my real airbus door control panel in it right away!

Layout begins!

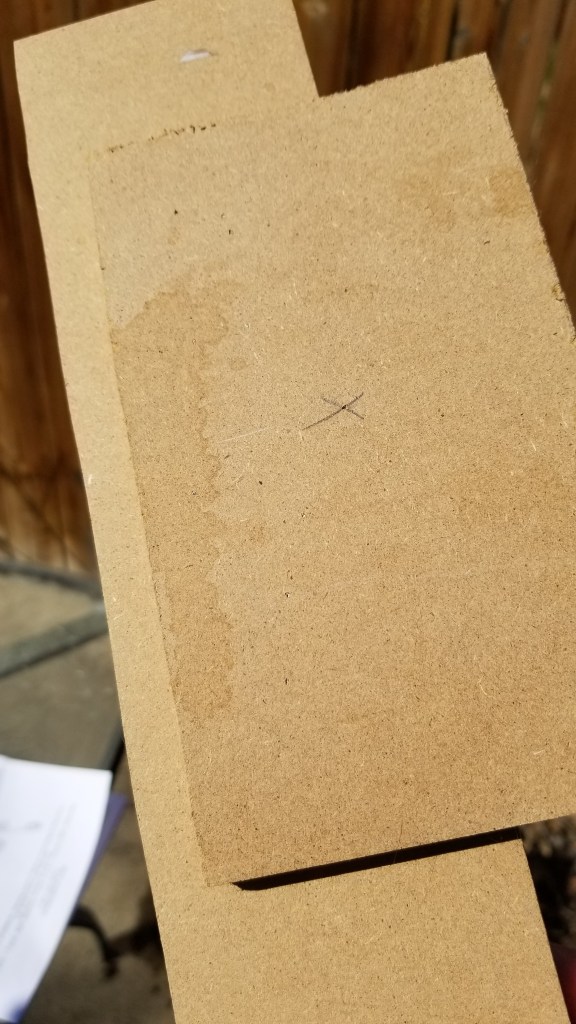
Like I mentioned in my last post, I acquired a 3d model and thus dimensions for my cockpit. That combined with some free time I began laying out some pieces on plywood. My plans called for 10mm MDF but that is near impossible to find in my area so I chose 11mm poplar plywood… not the cheapest option at $31.44 CAD but for the structure of the MIP it should work really nicely.

I bought three 24×48 inch sheets and have all of them nearly filled and ready to cut.

I haven’t had time to pull out the saw and cut them yet but I am super excited to do so soon!

To draw them as precisely as possible I did pick up some additional tools.. First up was a Metric 300mm T-Rule and Protractor both from Incra Tools. Neither of which are cheap but allow me to mark to a fraction of a MM or degree. To compliment these precision rulers I bought a nice 0.5mm mechanical pencil. (0.5mm is required to fit in the marking holes on the rulers)

I chose the Kuru Toga Roulette Model 0.5mm. I’ve been wanting a nice quality pencil for a while now and this seems to fit the bill. This pencil is unique in the fact that the lead rotates as you use it to keep it evenly tapered, sharp, and precise.

I hope this post didn’t seem too much like an advertisement! I have 10 pieces ready to cut and am excited to hopefully update you all on that soon. 🙂

My new alternative to wood screws… kinda

As you saw in my last post where I built a prototype MTG card tray, I had some pretty decent issues with wood splitting. In retrospect using screws on 1/2″ mdf wasn’t the best choice. Initially I thought a brad nailer may have been the best choice. However I found an even better method thanks to Adam Savage and his YouTube channel, Tested. In a couple of his recent videos he mentioned pin nailers. Pin nailers are like brad nailers but they shoot very thin fasteners that are virtually invisible once in your material.

I haven’t had a chance to use it in any of my own projects yet but the results are quite amazing on some scrap MDF I had lying around.

There is atleast 20 nails in this board!

I also put some pegboard up in the shed today, turned out quite nice. Next up will be a workbench to go under it.

Card Tray Built!

I managed to make my way into town the other day and buy some supplies for the project I mentioned in my previous post. I picked up a 24x48x1/2 inch MDF sheet and a pack of 6 x 1″ flathead robertson woodscrews.

I made quick work of drawing out the parts to be cut.
The base plate and 4 walls cut out!
After all the the dividers are installed and everything is screwed in. You’ll notice some problems have arose.

Results

As you probably noticed I had some pretty substantial splitting issues this was due to 2 errors on my part. Initially my pilot holes were too small putting too much stress on the wood. Additionally my chosen screws were a bit too wide. I suspect I should have been using around a #3 or #4 screw rather than a #6. At first I was a little disappointed but have decided to treat this first run as a proof of concept. My chosen size and dimensions seem to be perfect for what I have in mind.


All in all I am pleased with the experience even if the quality is lacking, for the next trays I build I am expecting the quality to be much higher.

Mistakes are never a bad thing if you learn from them!

Quarantine Creativity

After weeks stuck in the house I needed some sort of creative outlet so I decided to begin planning a long needed project….. A storage solution for my MTG card collection.

They’ve been stuck in a box for years now. >.>

The Idea I had in mind was a set of around 4 drawers in one unit. So as a start I began designing the tray portion which I hope in the end I can make removable from the unit.

My goal was to make it fairly minimal and easy to build while still having a large capacity. This design uses exclusively 1/2″ MDF and will hold approximately 8,162 cards. Each tray is made up of 11 pieces in only 4 sizes.

  • 1x Bottom Plate: 25″ x 15″
  • 2x Sidewalls: 15″ x 2.5″
  • 2x Front & Back walls: 24″ x 2.5″
  • 6x Dividers: 14″ x 2.5″

Total: 780 sq in

As shown in the side view the cards will extend up to one inch above the sides of the tray. This allows you to be able to file through your cards easily.


It may be impractical for me to make it out to buy the materials for a while but I will be sure to post updates when I make progress!

Stay healthy everyone!

Quick! Reed this!

Not too much new to report today, I did receive my magnetic reed switches. You probably know them as the security switches used on doors and windows. Essentially is a switch that closes when subjected to a magnetic field, more on how I plan to incorporate them into my ship later.

I did buy some half inch MDF and cut it with my new jigsaw to make up the 2 side panels of one console tower. I decided to use a design similar how the developers made their console.

The developers MKII design

My design merges each tower and its “foot” panel into one piece.I also decided to increase the angle of that foot panel. the devs use a 5 degree angle whereas mine will be 15 degrees. The face of the panels will be using 1/4 inch MDF

My cut side panels demonstrated by my assistant, Eli

On an unrelated side note While I was at work today I was able to accomplish something i’ve been trying to do for a while now. I was able to download an Image from the International space station via radio as it passed over head, very cool! They will be transmitting for three more days so I hope to receive more.